


#9: Robot 2.0

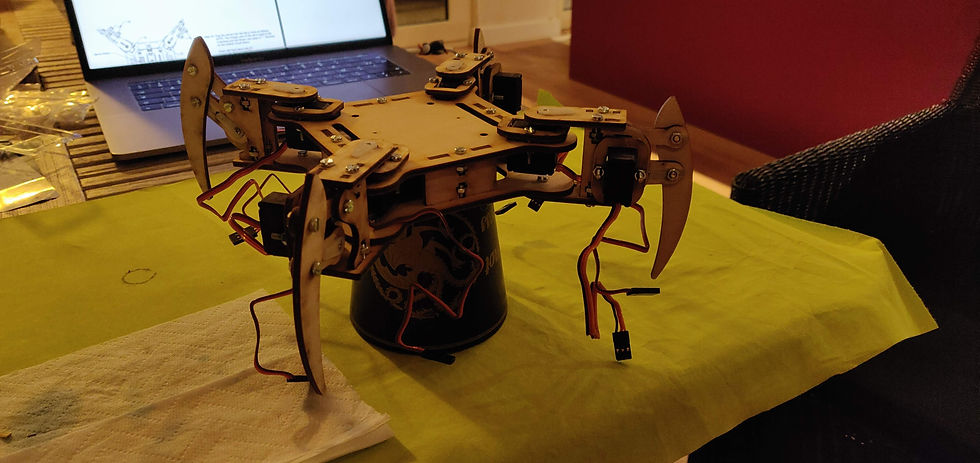
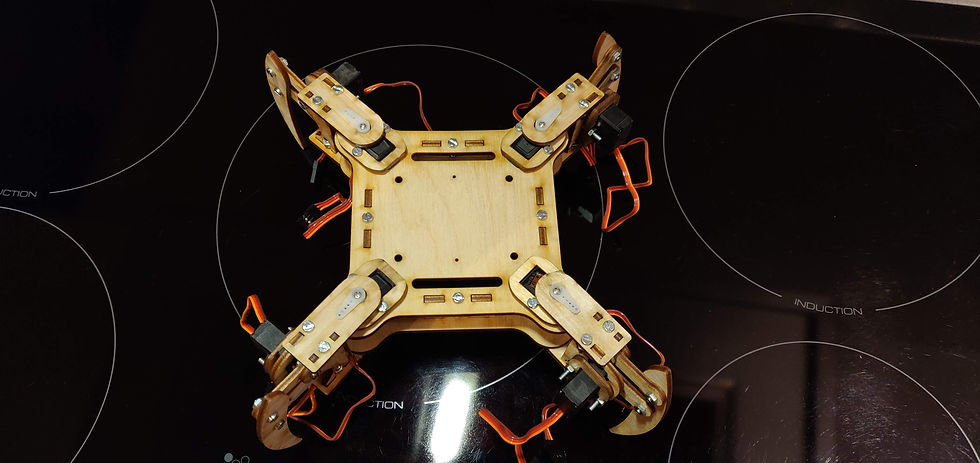
In this post I am going to tell you about how I updated the chassis of my robot and why. So first of all in my last post of my chassis you could tell by the photos that it was not very stable and so not ready to be used. First of I thought about 3D printing my robot but the advice I got from my personal coach was that this would take to much of my time and money so he suggested to laser cut my robot. He also suggested to take an already existing design; http://www.meped.io/mepedv2 so that I am sure it is stable. Because I did not found my robot design anywhere I decided to change the outlook and decided that something like a spider but with 4 legs would work for me. So last friday I went up to the Budda lab; https://www.budalab.be/bab/. To ask if they could help me print my design, unfortunately the woman who was there spoke another language and did not get what I wanted to do. So the printing of my design was delayed till yesterday when there was someone very helpful and only 30minutes later my design was cut out. Now the only thing I needed to do was putting it together, but my dad would not let me do this alone, he likes to play with these things also. So I let him help.
Because we had no Nyloc Hex Nuts we used this, see photo, to secure the screws.




Opmerkingen